
I get asked a whole lot of questions when I teach my cooking classes. Everything from the best olive oil to pink Himalayan sea salt, I’ve got answers. But, the number one question that seems to be on everyone’s mind is bone broth. “Wait a second, you make your own bone broth? How, exactly, do you do that?”
Yes, I do. And you can too.
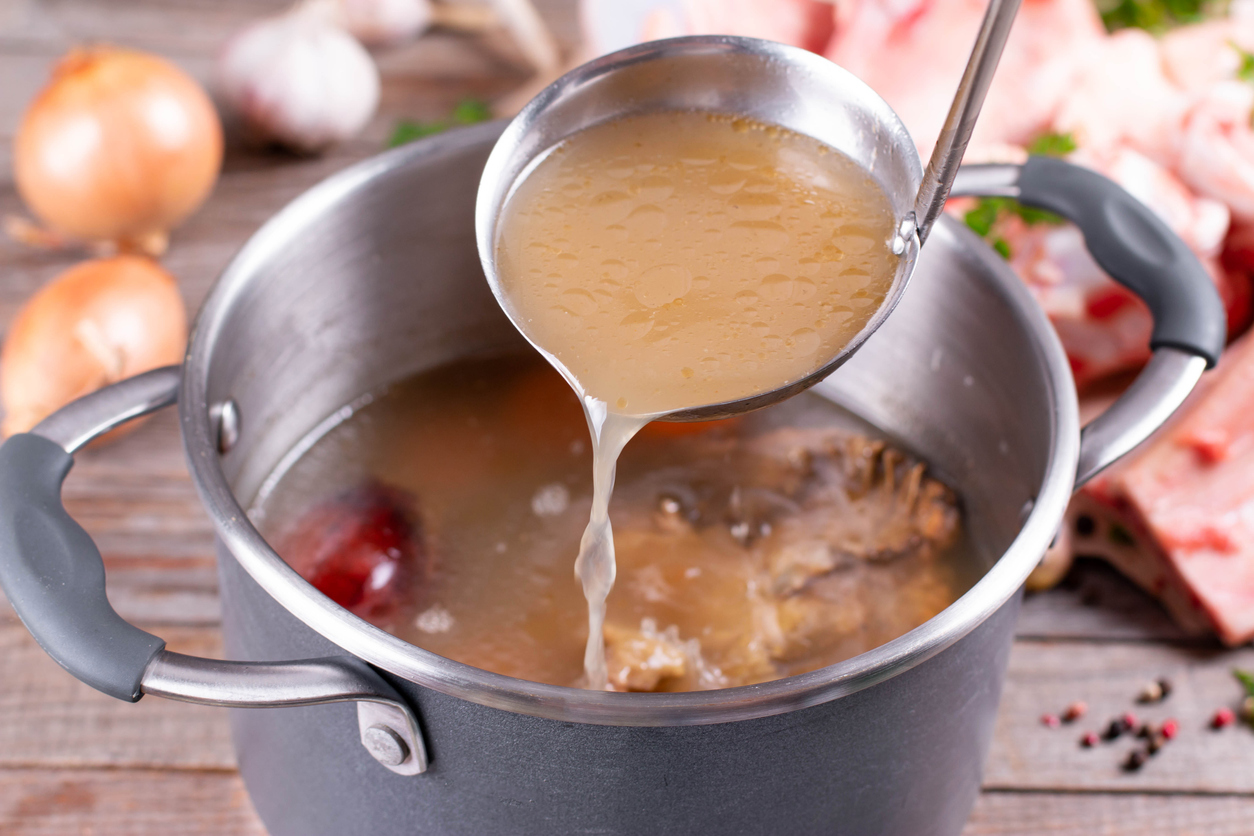
Bone broth is all the rage these days. The truth is, bone broth has been around for ages. Back in the day, we used to simply call it stock. Long simmered bones, vegetables, herbs and a splash of vinegar were then strained and used in soups, sauces or to make grains and other dishes. Stocks made the difference between bland tasting food and great food.
They still do.
Except for today, we sip it as an elixir and extol the health benefits, which can be numerous. Long-simmering beef or chicken bones draw out the collagen, a nourishing protein, which in turn benefits our immune system, our hair, skin, and nails. Bone broth is also so easy to make and keep on hand that I wouldn’t want you paying top dollar for store bought bone broth.
How to Make Your Own Bone Broth
I typically start by roasting a whole chicken (organic please) to use in my kids’ lunches or as an addition to a stir-fry. Roasting the bones before making the broth is key for a good broth since it’s what helps draw out the collagen. It also kills two birds with one stone (no pun intended!). You can also use beef bones or other meat bones, but make sure they are also roasted first.
Next, I always use a couple of aromatics. Aromatics are the staples of soups, and the same goes for bone broth. Onions, carrots and celery are my go to’s, but you can also throw in some extras such as:
- parsley, thyme or other fresh herbs
- peppercorns and dried herbs
- garlic, shallots, leeks and other types of onions
- sweet potato, potatoes and winter squashes, mushrooms
What should not go into a bone broth?
- cruciferous vegetables such as cauliflower, Brussel sprouts or broccoli (will turn the stock bitter)
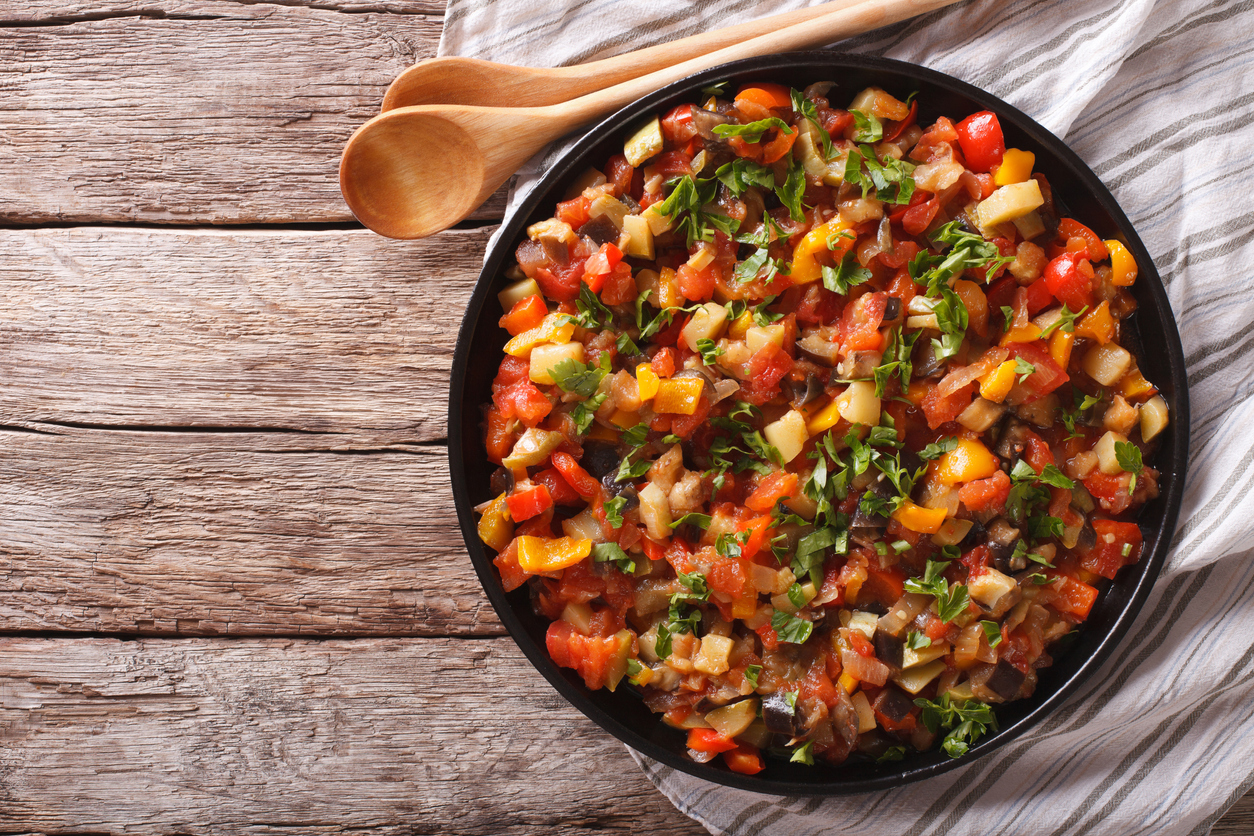
- peppers, beets, zucchini, tomatoes (will overpower the stock with their flavor)
I always add a splash of vinegar which is essential to draw the collagen and minerals out of the bones, a couple of peppercorns, some bay leaves and of course water.
Equipment Needed for Bone Broth
Last but not least, I use my secret weapon: my slow cooker. I spent many years making all types of stock on the stove in a big pot. The problem was that bone broth loves a good, long simmer and I didn’t want to leave my stove on all day nor do I have the time to watch that pot simmer. When I finally realized that my slow cooker can be turned on for 20 hours at a time, I was star struck. Slow cookers are the best aren’t they?
Place all the ingredients in the pot, turn it on and go to sleep. So easy! If you are concerned about leaving your slow cooker on, trust me, it’s safe. You can read about that HERE.
After the broth is done cooking simply strain out the bones, vegetables and herbs, then skim off the excess fat after it has cooled. Refrigerate and use your bone broth throughout the week or put it in containers and freeze for up to 4 months.
Uses For Bone Broth
Bone broth is so versatile. Use your bone broth straight up as a warm drink, as a stock for your next soup, when making whole grains, or any savory dish where a liquid is required.
Homemade Chicken Bone Broth

Makes about 4 quarts
Ingredients
1 chicken carcass from a roasted chickens (use the chicken for another dish)
1 large yellow onion, coarsely chopped
3 large carrots, coarsely chopped
3 celery stalks, coarsely chopped
2 bay leaves
1 tablespoon peppercorns
2 tablespoon apple cider vinegar
water, enough to cover the ingredients, and then some
Directions
1. Place all ingredients into a large slow cooker and cover with water to cover, at least two inches above the ingredients.
2. Turn the slow cooker on low to the longest setting you have. Mine runs for 20 hours. The longer the better.
3. Strain all the ingredients from the broth into containers (I use mason jars). Place in refrigerator, and when cooled, strain any extra fat that rises to the top. The broth might be quite gelatinous too and that is normal. Once you heat it up it will turn back to liquid.
4. Use the broth heated as is, or in soups, to make whole grains or other dishes.